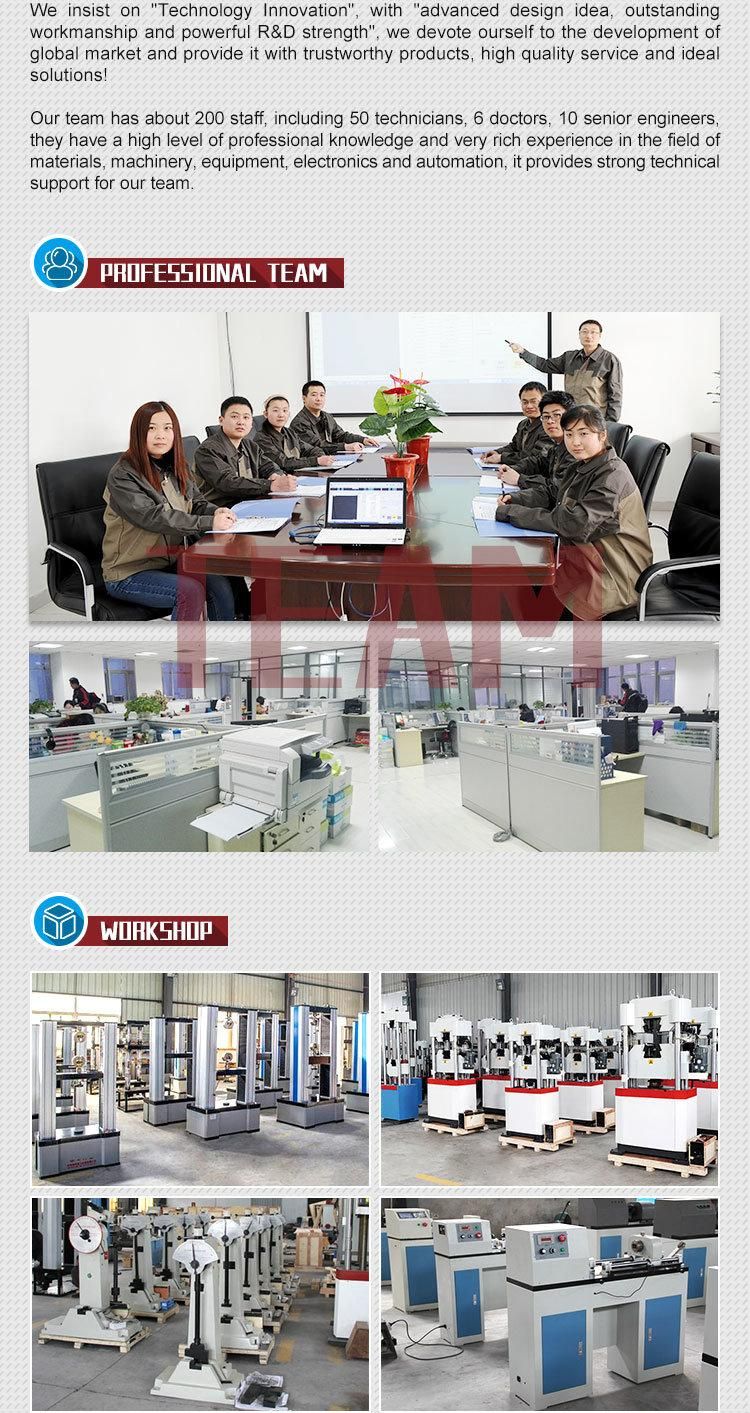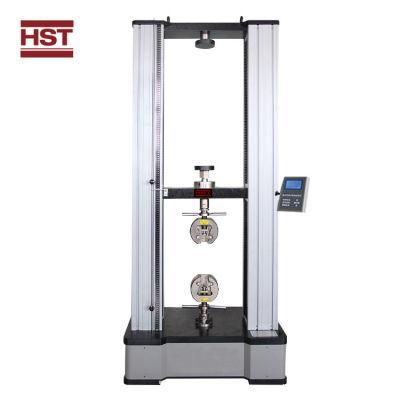
50kn Digital Display Electronic Tension Compression Testing Machine
Jinan Kason Testing Equipment Co., Ltd.- After-sales Service:24 Hours Technical Supply
- Warranty:12 Months
- Max Diameter of Workpiece:<500mm
- Mass Scope of Workpiece:<900kg
- Type:Universal Testing Machine
- Maxcapacity:50kn
Base Info
- Model NO.:WDS-50
- Accuracy Grade:1
- Load Way:Electronic Load
- Loading Method:Static Load
- Display:Digital
- Control:Single Chip Control
- Weight:100-500Kg
- Power Source:AC220V
- Oil Cylinder Position:Motor Under
- Certificate:CE ISO
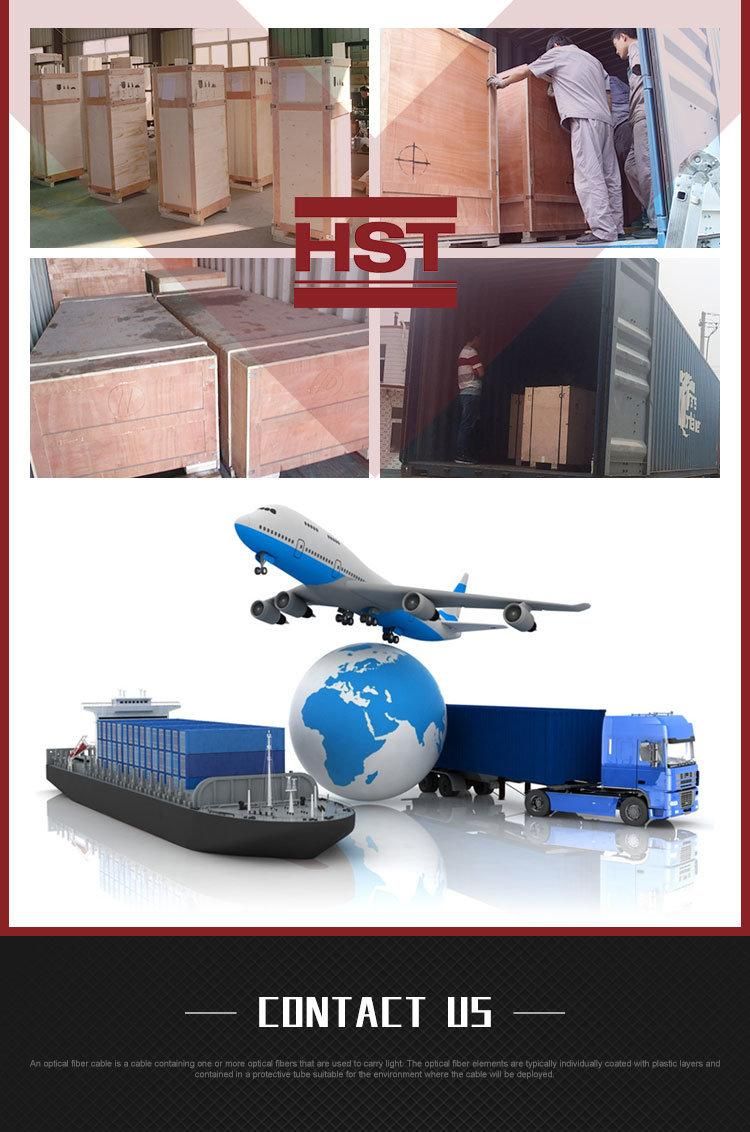
- Transport Package:Plywood Exporting Package
- Specification:280kg 1.32CBM
- Trademark:HST
- Origin:Jinan, Shandong, China
- HS Code:9024109000
- Production Capacity:1500sets,Month
Description
Basic Info.
Model NO. WDS-50 Accuracy Grade 1 Load Way Electronic Load Loading Method Static Load Display Digital Control Single Chip Control Weight 100-500Kg Power Source AC220V Oil Cylinder Position Motor Under Certificate CE ISO Transport Package Plywood Exporting Package Specification 280kg 1.32CBM Trademark HST Origin Jinan, Shandong, China HS Code 9024109000 Production Capacity 1500sets/MonthProduct Description
50kN Digital Display Electronic Tension Compression Testing Machine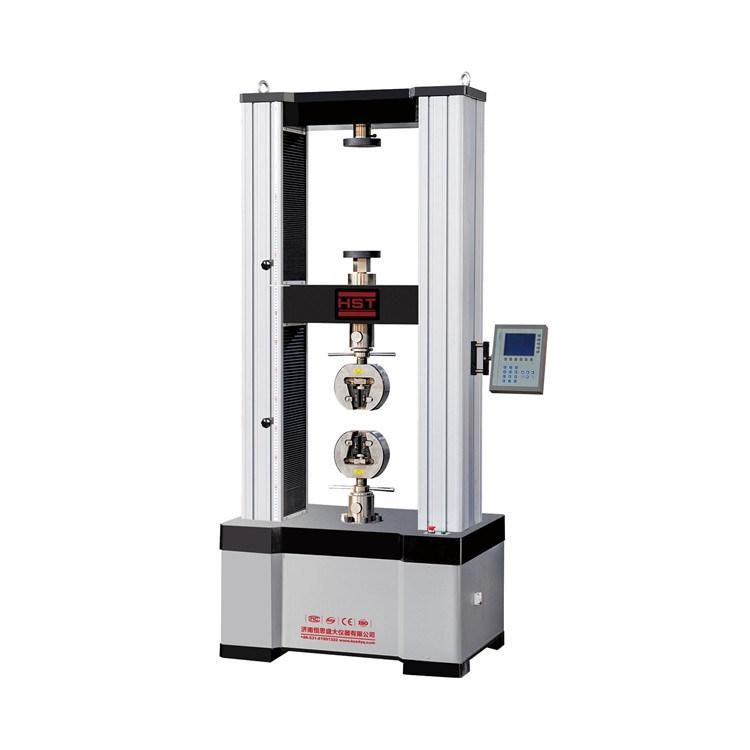
1. Application:
It is applicable for wide range of material for tension, compression, bending, shearing and low cycle test. Suitable for metal, rubber, plastic, spring, textile, and components testing. It is widely used in the corresponding industries, research and development, test institutes and training centers etc.
2.Standard:
ASTM, ISO, DIN, GB and other international standards.
3.Main Technical Parameters:
| Model | WDS-50 |
| Max. load | 50 KN |
| Structure | Four-column floor model, (upper is tensile and lower is compression; upper is compression and lower is tensile) |
| Control method | Single chip control |
| Load accuracy | 1 class |
| Load range | 2%~100%F·S |
| Displacement Resolution | 0.04um |
| Test speed | 1-500mm/min(can be customized) |
| Tensile space | 700mm(can be customized) |
| Compression space | 700mm(can be customized) |
| Test width | 400mm(can be customized) |
| Power supply | AC220V±10%,50Hz(can be customized) |
| Grips | Wedge type, plate type and other grips as consumer's demand |
| Dimension | 750*510*1900mm |
| Weight | 300 kg |
4. Main Unit Feature:
4.1 Adopt floor structure,High Stiffness, lower for tensile, upper for compression,upper for tensile, lower for compression, double space. The beam is step less lifting.
4.2 Adopting ball screw drive, realize no clearance transmission,make sure the precision control of the test force and deformation speed.
4.3 The shiel plate with limit mechanism used to control the beam moving range, in order to avoid sensor damaged due to the moving distance is too large.
4.4 The table, moving beams is made of high quality precision machining steel plate , not only reduce the vibration generated by specimen fracture, but also improve the stiffness.
4.5 Three columns of mandatory orientation, make the main unit rigidity much improved, to further ensure the repeatability of measurement.
4.6 Adopt bolt type grip installation, make the grip replace easier.
4.7 Adopt AC servo driver and AC servo motor, with stable performance,more reliable. Have over-current, over-voltage, over speed, overload protection device.
5.Function Features:
5.1 Automatic calibration: system can automatically realize the accuracy of the calibration value.
5.2 After the sample broken, automatic stop.
5.3 Automatic display: Real-time display testing force, displacement, testing speed, peak value, testing status on one LCD.
5.4 Automatic return: beam automatic return to initial position when testing finished.
5.5 Breakage judgment: sample after fracture,beam automatic stop moving.
5.6 Limiting protection: Program control and Mechanical limiting protection.
5.7 Overload protection: When more than 3 ~ 5% of the rated load device automatically stop working.
5.8 Automatic calculation: automatic calculation area after input sample diameter (round); Width, thickness (flat), sample gauge ect.
